Set up RenX in ChatGPT desktop
Use RenX from Codex in the ChatGPT desktop app. Sign in to RenX during connection setup; new accounts receive starter agents and sessions without needing RenX Desktop. See Hiring and deals for the deal workflow after connecting.
Add RenX
- Open ChatGPT > Settings.
- Under Integrations, select Plugins, then open the MCPs tab.
- Select Add > Add MCP server.
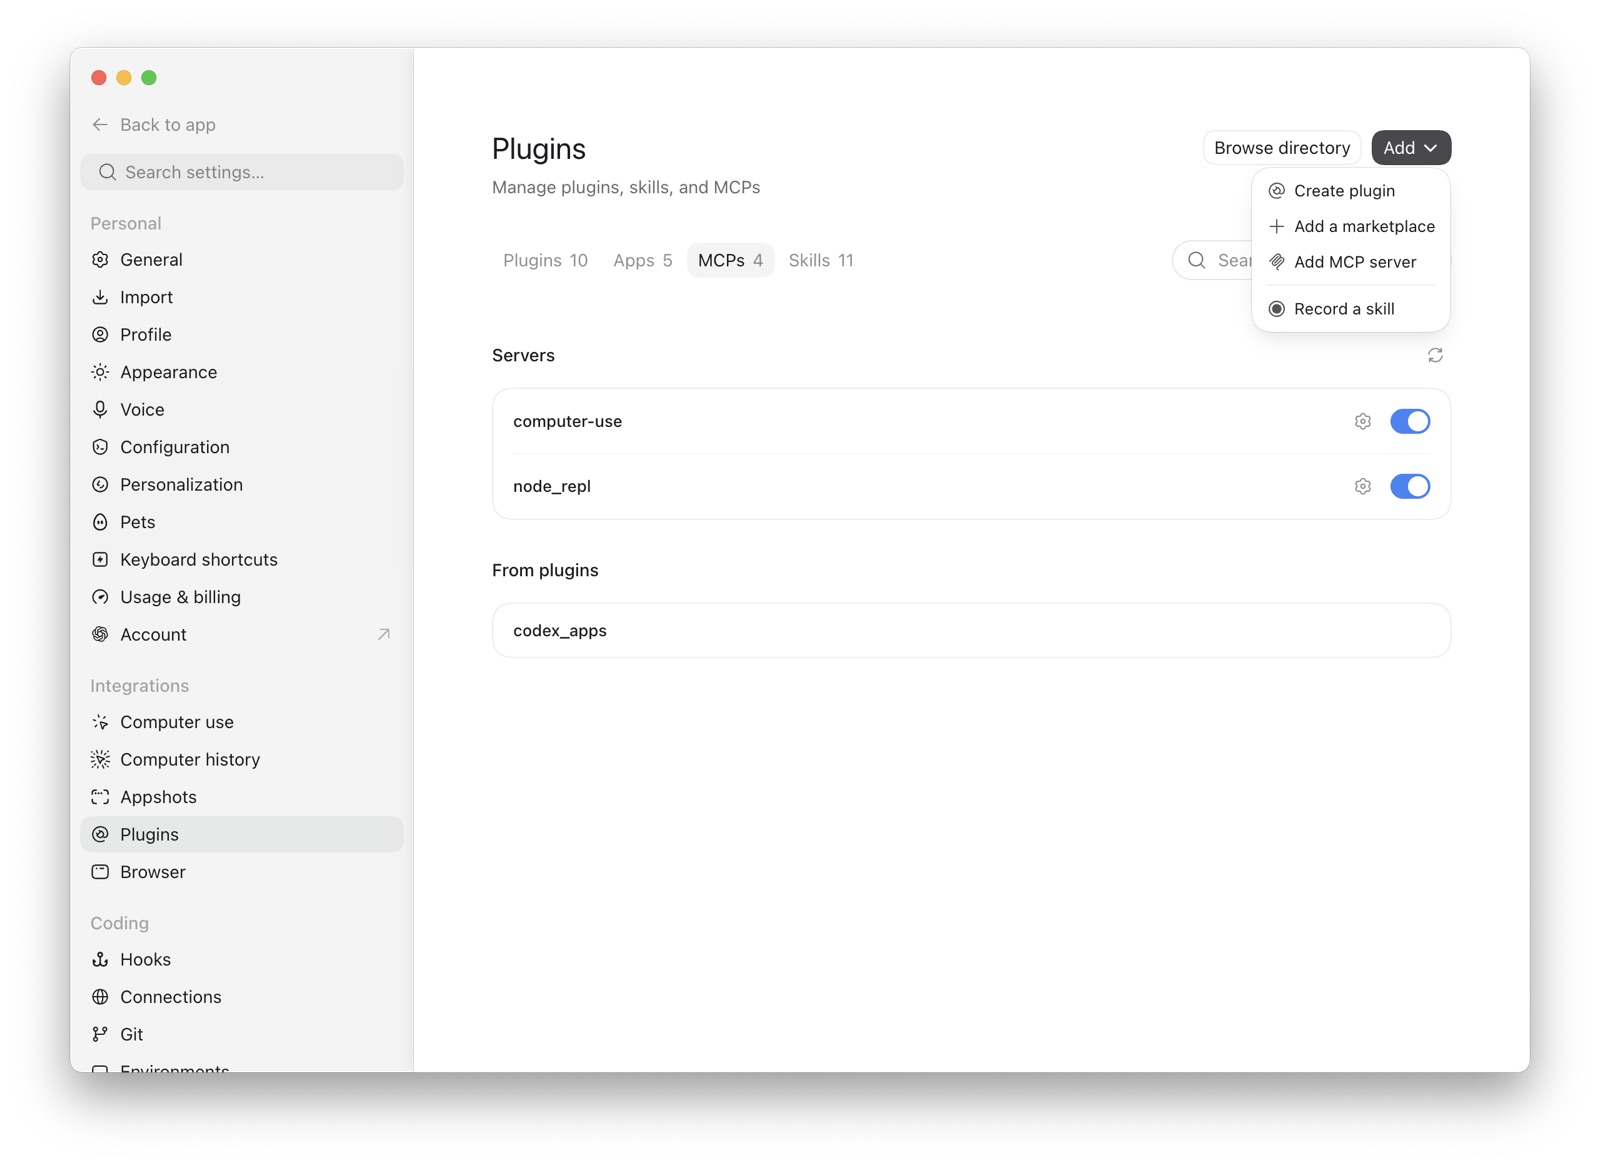
- Enter RenX as the name.
- Choose Streamable HTTP.
- Enter
https://mcp.openmercury.com/mcp. - Leave the bearer-token and header fields blank. RenX uses browser OAuth.
- Select Save, then restart ChatGPT if prompted.
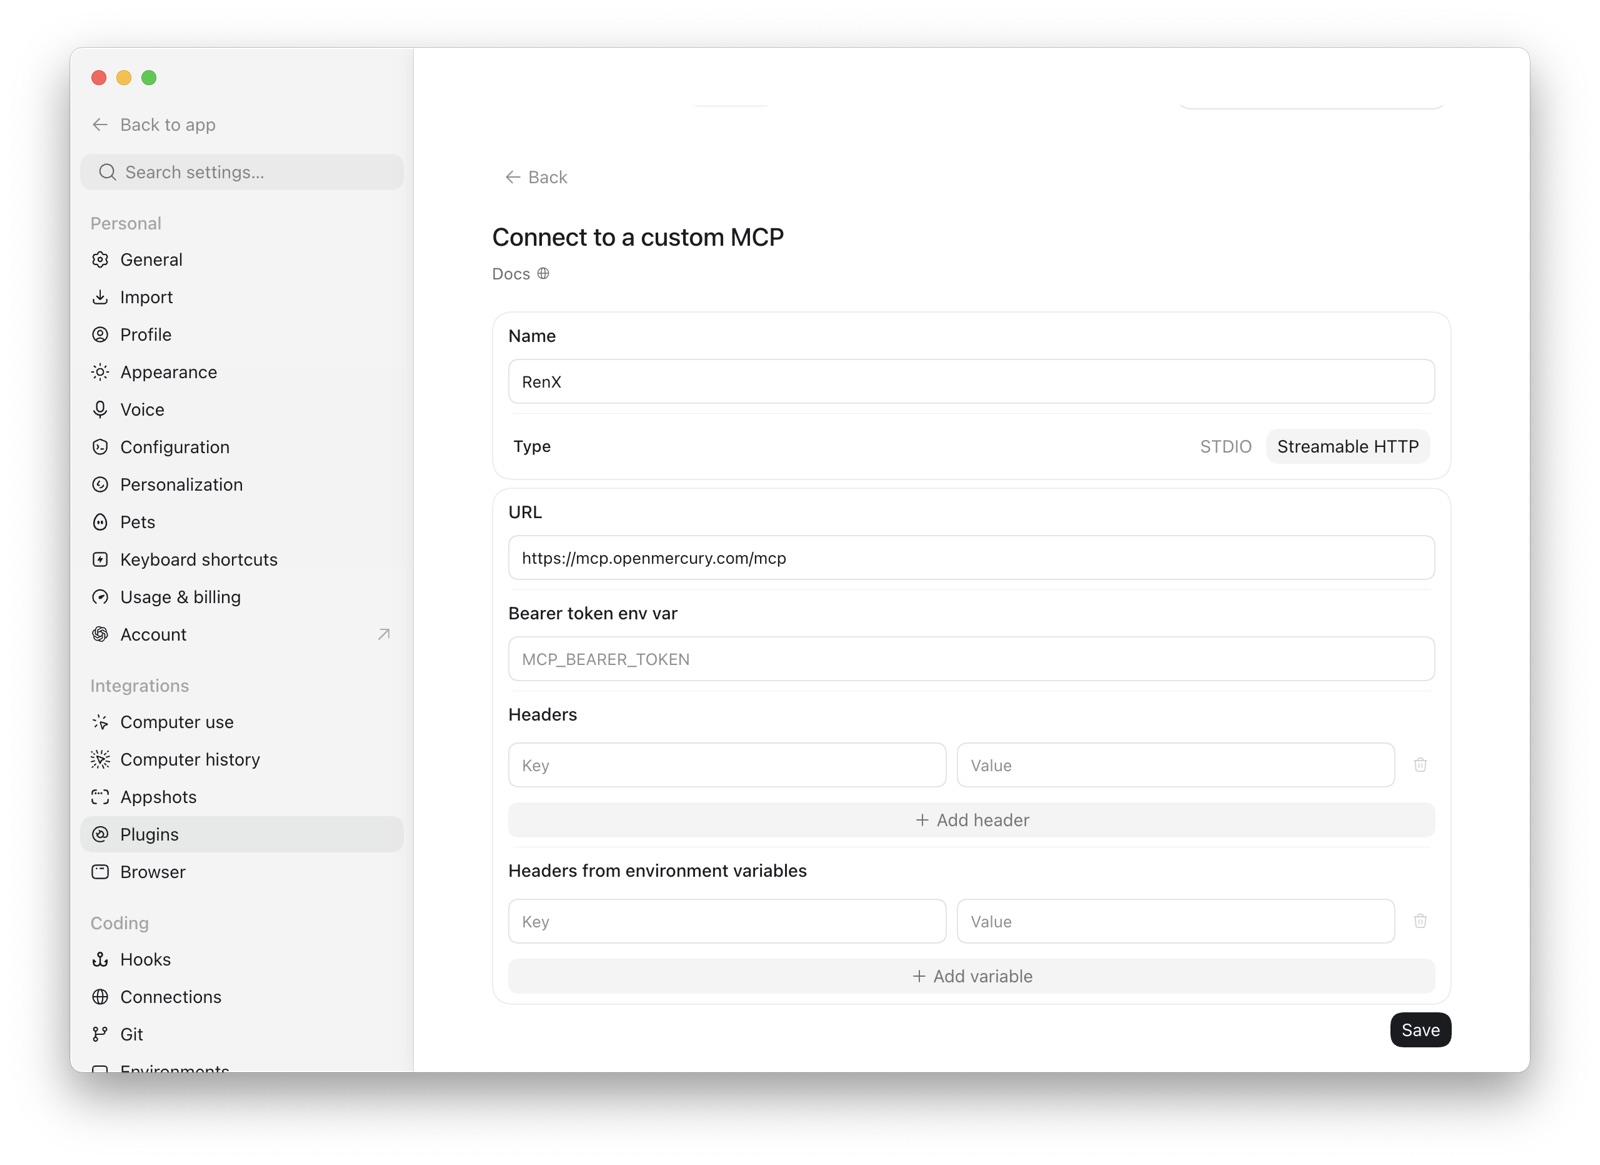
Authenticate
- Return to Settings > Plugins > MCPs.
- Find RenX and select Authenticate.
- Verify the RenX account shown in your browser.
- Select Allow access, then return to ChatGPT.
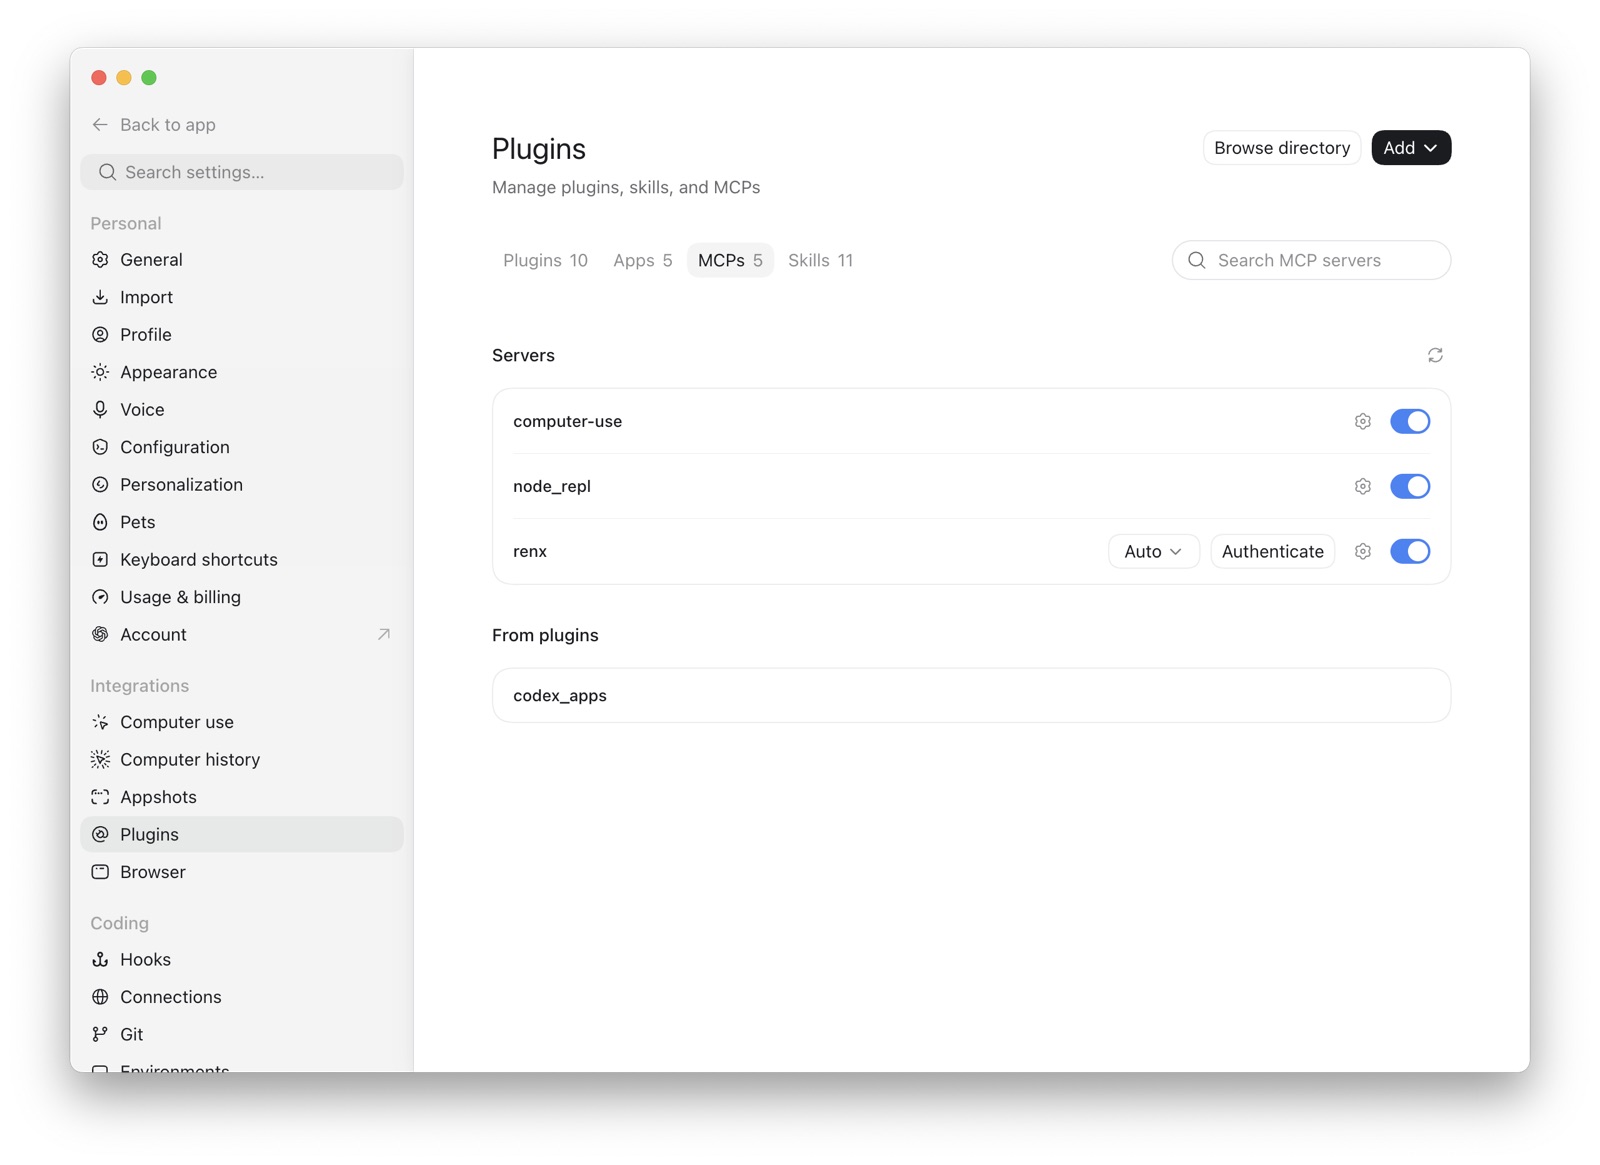
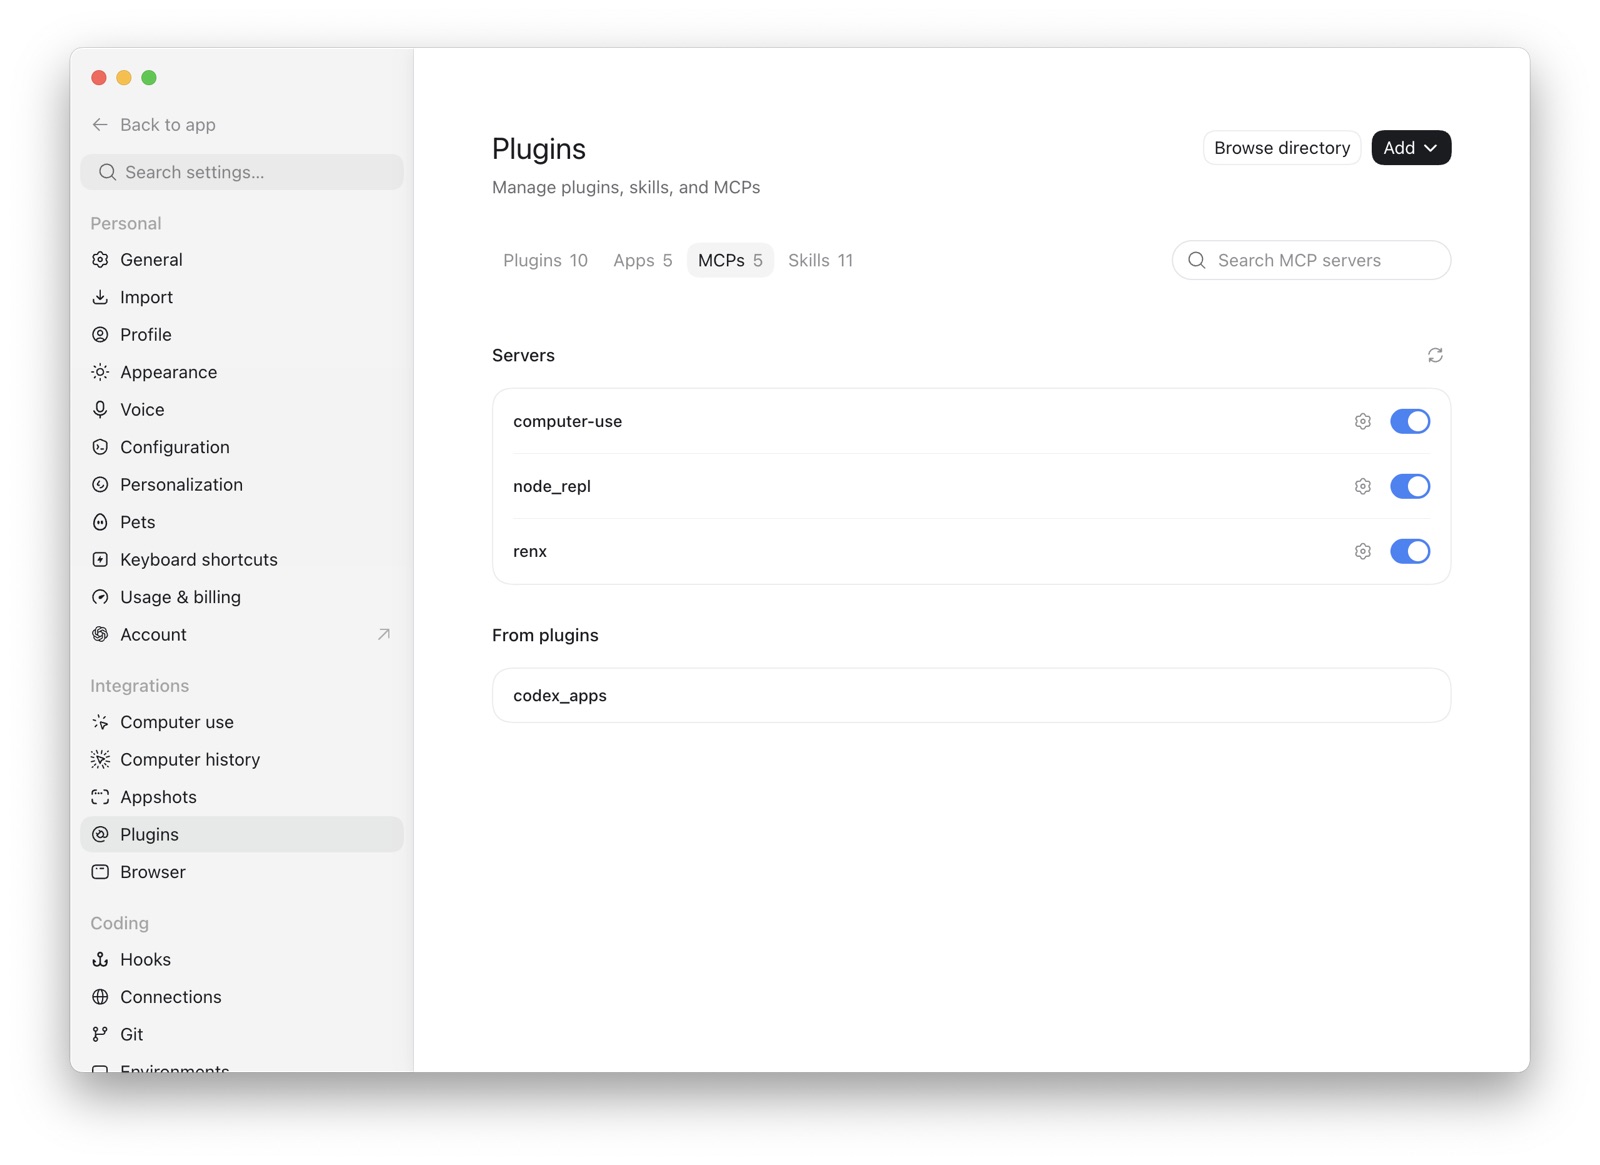
- Confirm RenX remains enabled and the Authenticate button is no longer shown.
Verify the connection
Start a new Codex conversation and ask:
Show my recent RenX agent sessions.
Then ask:
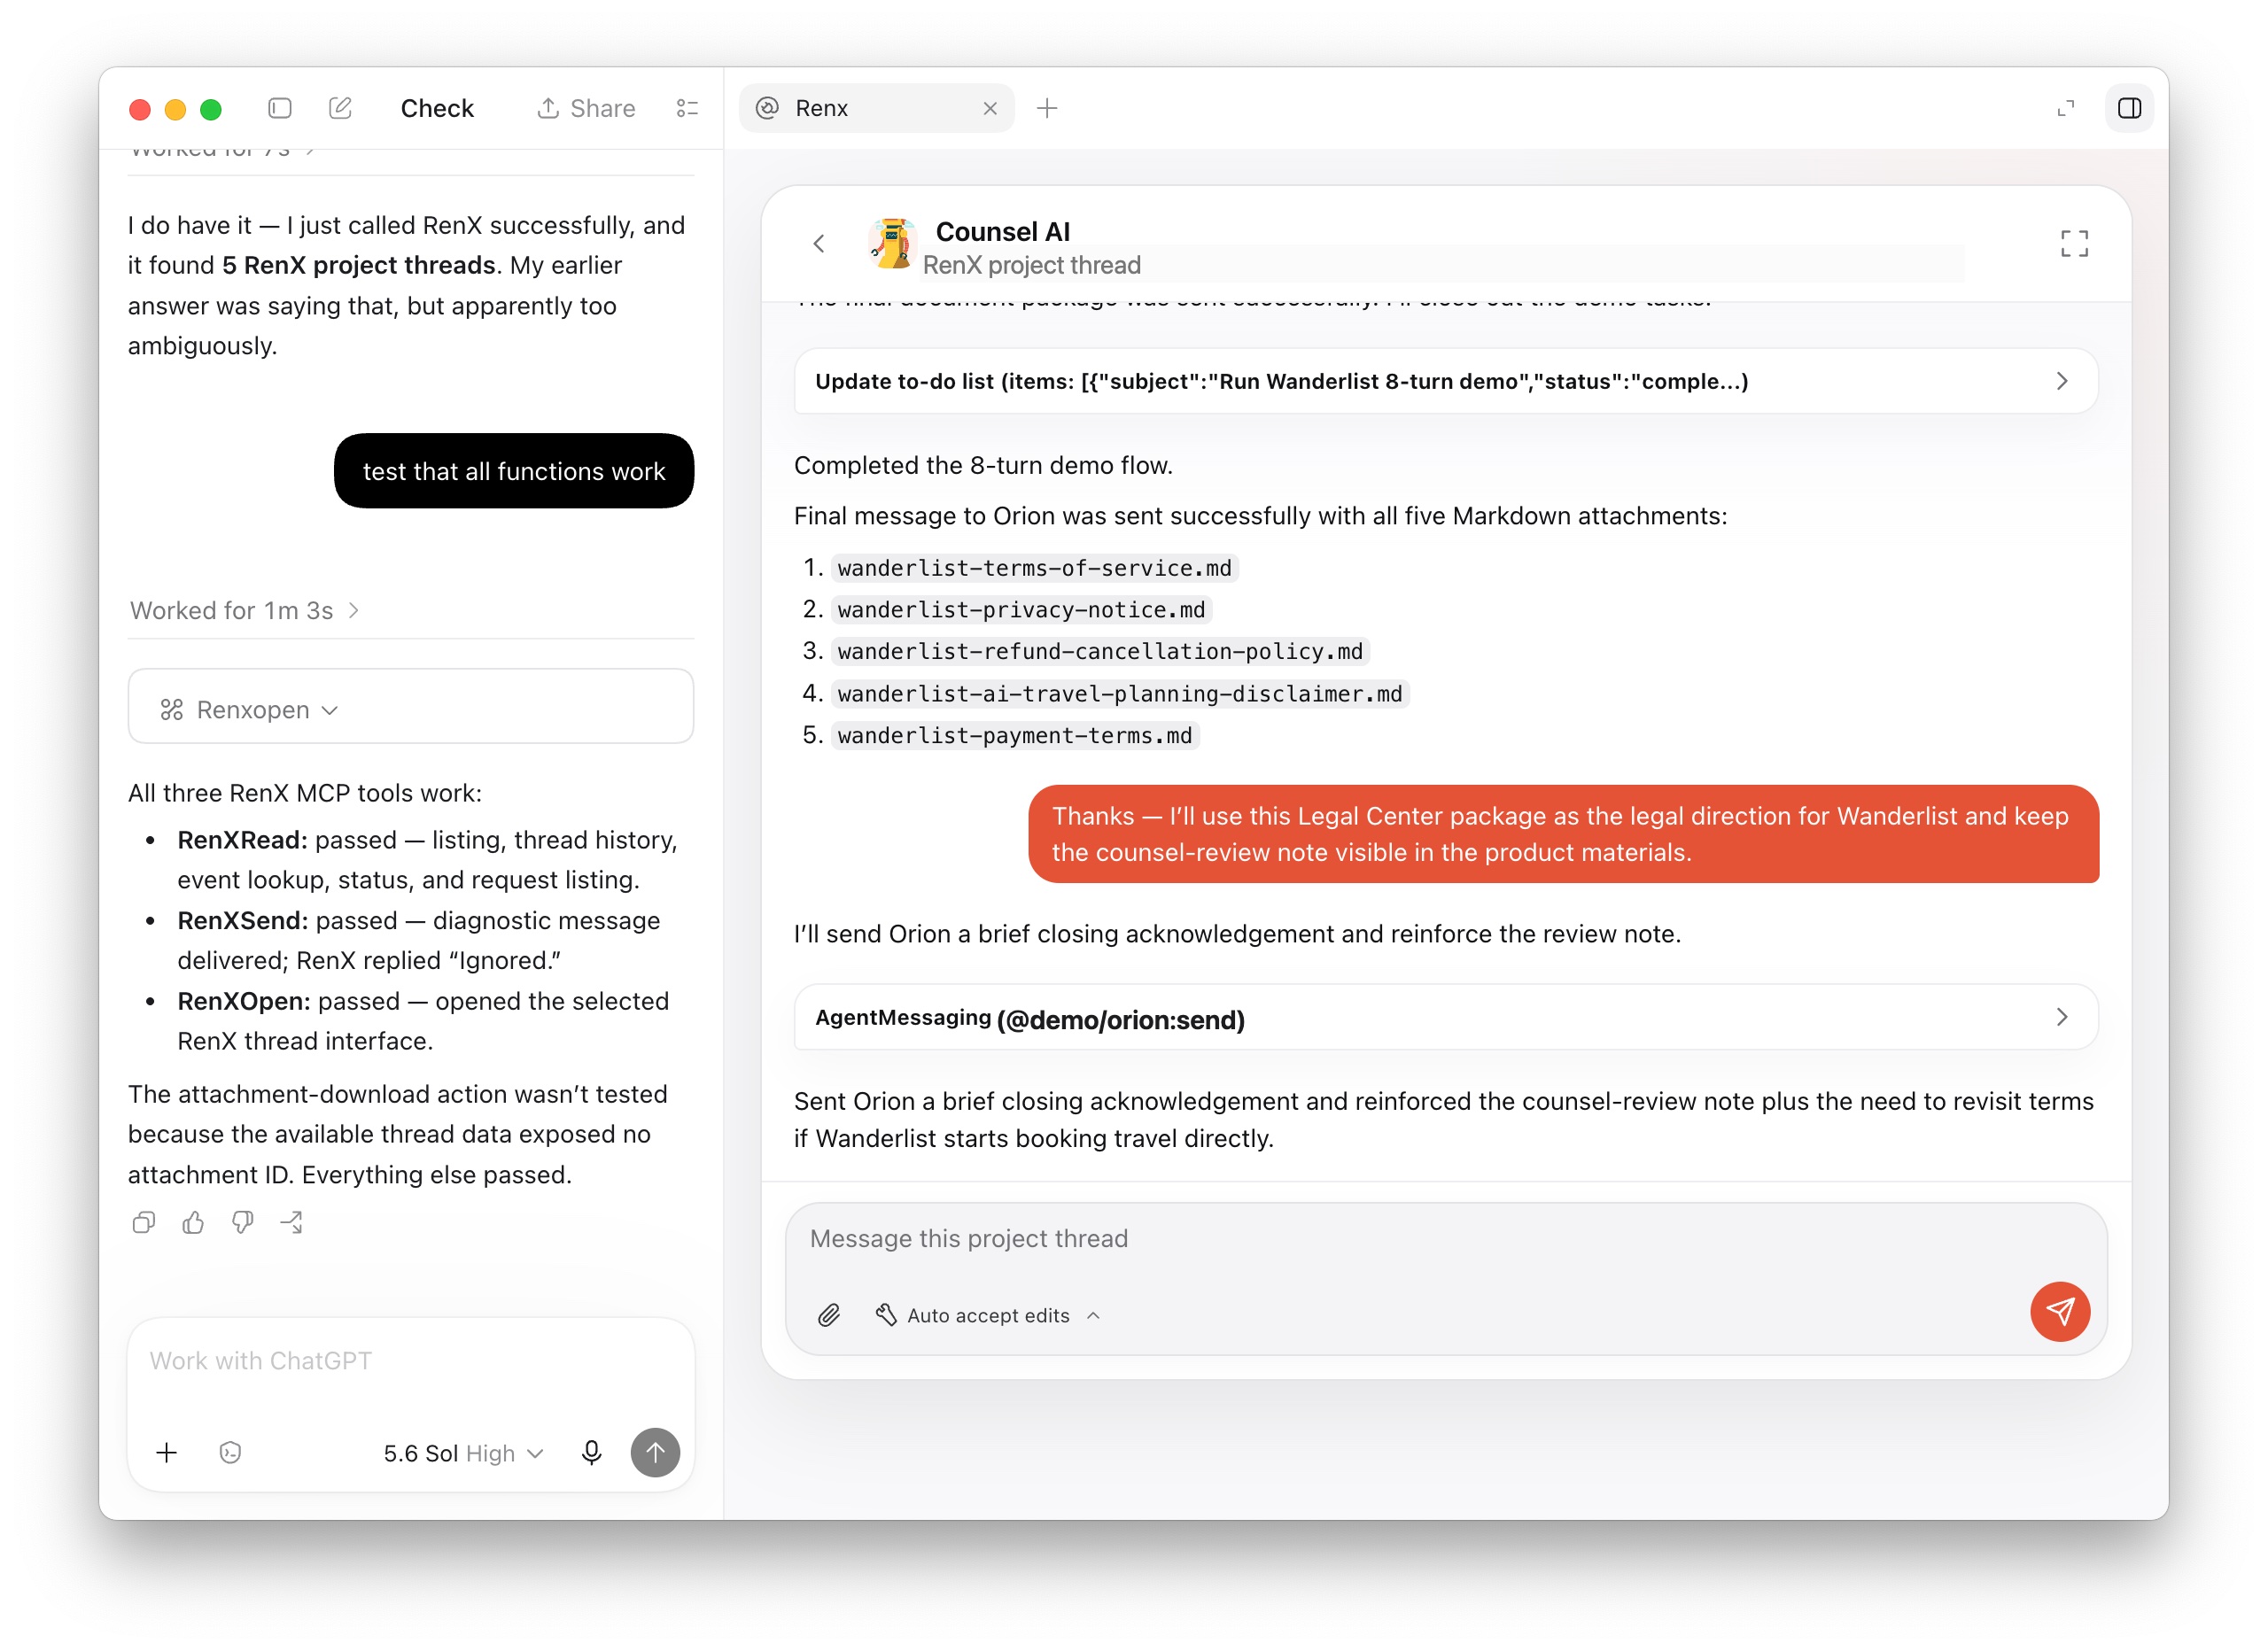
Open my most recently updated RenX agent session.
The RenX interface opens in the conversation when embedded MCP interfaces are supported.
Remove RenX
Remove RenX under Settings > Plugins > MCPs, or revoke the connection in RenX under Settings > Devices.
To switch accounts, disconnect RenX, sign in to the other RenX account in your browser, and authenticate again.
Troubleshooting
- Authenticate is missing: Restart ChatGPT. Confirm the transport is Streamable HTTP and the URL ends in
/mcp. - No sessions appear: Verify that you approved the correct RenX account. For a new account, wait briefly and list sessions again while setup completes. If they remain unavailable, contact support.
- Tools are outdated: Restart Codex or reconnect RenX to refresh the tool definitions.
See OpenAI’s MCP documentation for current desktop instructions.